MinIO 는 오픈소스 기반의 객체 스토리지입니다.
AWS S3 클라우드 스토리지 서비스와 호환되는 API를 쓰고 있습니다.
한마디로 요약하자면, 높은 내구성과 높은 가용성을 제공하는 오픈소스 기반 인터넷 스토리지 서비스라고 보면 됩니다.
하나의 저장 공간을 구성하고 그 공간에 데이터를 업로드하면 인터넷을 통해 해당 파일을 자유롭게 다운로드 할 수 있습니다.
물론 데이터를 업로드하고 다운로드 하는 주체가 일반 인터넷 사용자가 될 수도 있고, 다른 사용자의 어플리케이션이 될 수 도 있습니다.
그럼 오늘 필자는 맥 OS에 MinIO을 설치하는 법에 대해 포스팅을 진행할 예정입니다.
1. Homebrew을 사용하여 minio 패키지를 설치합니다.
brew install minio/stable/minio
minio server /data
brew install minio/stable/minio : 현재 안정된 최신 버전의 minio을 brew을 통해 설치합니다.
[kabby-MacBookPro:~ jeong$ brew install minio/stable/minio
Updating Homebrew...
==> Auto-updated Homebrew!
Updated 2 taps (homebrew/core and mongodb/brew).
==> New Formulae
act                                      latexindent
apidoc                                   ldpl
arb                                      litecli
argo                                     logcli
argocd                                   loki
arrayfire                                lunchy
awsweeper                                lunchy-go
bond                                     mandown
buildozer                                marked
cadence                                  mongodb/brew/mongodb-community@4.2
carton                                   naabu
chalk-cli                                networkit
chart-testing                            never
choose-rust                              ngs
chrony                                   notmuch-mutt
clair                                    oci-cli
cloudformation-cli                       omake
coconut                                  oq
colfer                                   ory-hydra
copilot                                  osi
cortex                                   pandoc-include-code
cpio                                     pipgrip
cpm                                      po4a
croaring                                 promtail
cubejs-cli                               python@3.7
dnsprobe                                 reg
dosbox-staging                           rgf
duckscript                               rqlite
eksctl                                   s2n
fennel                                   saltwater
flank                                    scw@1
folderify                                sdns
functionalplus                           simdjson
gateway-go                               skylighting
gcc@9                                    smlpkg
git-hooks-go                             so
gofish                                   solidity
golangci-lint                            sonic
gradle-profiler                          standardese
grpcui                                   subfinder
gulp-cli                                 termcolor
heksa                                    terraform-ls
hy                                       thanos
jerryscript                              uptoc
jimtcl                                   vapor
jinx                                     vgrep
jobber                                   vsearch
jsonnet-bundler                          wgcf
k9s                                      wren
kde-kdoctools                            wren-cli
kona                                     yj
ksync                                    z.lua
kubie                                    zoxide
==> Updated Formulae
Updated 4014 formulae.
==> Renamed Formulae
elasticsearch@6.8 -> elasticsearch@6     kibana@6.8 -> kibana@6
==> Deleted Formulae
cargo-completion    highlighting-kate   marathon-swift      unravel
cryptopp            i386-elf-grub       python
elasticsearch@2.4   kibana@5.6          sflowtool
elasticsearch@5.6   lumo                tomee-jax-rs

==> Tapping minio/stable
Cloning into '/usr/local/Homebrew/Library/Taps/minio/homebrew-stable'...
remote: Enumerating objects: 30, done.
remote: Counting objects: 100% (30/30), done.
remote: Compressing objects: 100% (19/19), done.
remote: Total 928 (delta 17), reused 24 (delta 11), pack-reused 898
Receiving objects: 100% (928/928), 126.95 KiB | 323.00 KiB/s, done.
Resolving deltas: 100% (603/603), done.
Tapped 2 formulae (29 files, 192.0KB).
==> Installing minio from minio/stable
==> Downloading https://dl.minio.io/server/minio/release/darwin-amd64/minio.RELE
######################################################################## 100.0%
==> Download complete!
==> Useful links:
Command-line Access: https://docs.min.io/docs/minio-client-quickstart-guide

Object API (Amazon S3 compatible):
   Go:         https://docs.min.io/docs/golang-client-quickstart-guide
   Java:       https://docs.min.io/docs/java-client-quickstart-guide
   Python:     https://docs.min.io/docs/python-client-quickstart-guide
   JavaScript: https://docs.min.io/docs/javascript-client-quickstart-guide
   .NET:       https://docs.min.io/docs/dotnet-client-quickstart-guide

Talk to the community: https://slack.min.io
==> Get started:
NAME:
  minio server - start object storage server

USAGE:
  minio server [FLAGS] DIR1 [DIR2..]
  minio server [FLAGS] DIR{1...64}
  minio server [FLAGS] DIR{1...64} DIR{65...128}

DIR:
  DIR points to a directory on a filesystem. When you want to combine
  multiple drives into a single large system, pass one directory per
  filesystem separated by space. You may also use a '...' convention
  to abbreviate the directory arguments. Remote directories in a
  distributed setup are encoded as HTTP(s) URIs.

FLAGS:
  --address value              bind to a specific ADDRESS:PORT, ADDRESS can be an IP or hostname (default: ":9000")
  --certs-dir value, -S value  path to certs directory (default: "/Users/jeong/.minio/certs")
  --quiet                      disable startup information
  --anonymous                  hide sensitive information from logging
  --json                       output server logs and startup information in json format
  --help, -h                   show help

EXAMPLES:
  1. Start minio server on "/home/shared" directory.
     $ minio server /home/shared

  2. Start single node server with 64 local drives "/mnt/data1" to "/mnt/data64".
     $ minio server /mnt/data{1...64}

  3. Start distributed minio server on an 32 node setup with 32 drives each, run following command on all the nodes
     $ export MINIO_ACCESS_KEY=minio
     $ export MINIO_SECRET_KEY=miniostorage
     $ minio server http://node{1...32}.example.com/mnt/export{1...32}

  4. Start distributed minio server in an expanded setup, run the following command on all the nodes
     $ export MINIO_ACCESS_KEY=minio
     $ export MINIO_SECRET_KEY=miniostorage
     $ minio server http://node{1...16}.example.com/mnt/export{1...32} \
            http://node{17...64}.example.com/mnt/export{1...64}
🍺  /usr/local/Cellar/minio/RELEASE.2020-07-31T03-39-05Z_1: 3 files, 54.1MB, built in 2 seconds
==> `brew cleanup` has not been run in 30 days, running now...
Removing: /Users/jeong/Library/Caches/Homebrew/erlang--23.0.2.mojave.bottle.tar.gz... (80.7MB)
Removing: /usr/local/Cellar/openssl/1.0.2r... (1,795 files, 12.1MB)
Removing: /Users/jeong/Library/Logs/Homebrew/libtiff... (64B)
Removing: /Users/jeong/Library/Logs/Homebrew/mongodb-community@4.0... (130B)
Removing: /Users/jeong/Library/Logs/Homebrew/wxmac... (64B)
Removing: /Users/jeong/Library/Logs/Homebrew/libpng... (64B)
Removing: /Users/jeong/Library/Logs/Homebrew/erlang... (64B)
Removing: /Users/jeong/Library/Logs/Homebrew/rabbitmq... (2 files, 309B)
Removing: /Users/jeong/Library/Logs/Homebrew/openssl@1.1... (64B)
Removing: /Users/jeong/Library/Logs/Homebrew/jpeg... (64B)
Pruned 1 symbolic links from /usr/local
minio server /data : /data 경로를 기준으로 minio을 실행시킵니다. 만약 다른 경로 기준으로 minio을 실행시키고 싶다면,
minio server /{원하는 경로} 명령어를 실행시켜 줍니다.
kabby-MacBookPro:~ jeong$ minio server /data
ERROR Unable to initialize backend: Unable to write to the backend
      > Please ensure MinIO binary has write permissions for the backend
      HINT:
        Use 'sudo chown -R jeong /data && sudo chmod u+rxw /data' to provide sufficient permissions.
...?!
여기서 MinIO을 사용하고 싶다면 , 권한을 주라고 합니다. :(
바로 권한을 변경해보도록 하겠습니다.
2. minio을 실행시킨 경로에 대하여 이후 하위 디렉터리에 위치한 모든 파일 대하여 계정(필자의 경우 jeong) 이 권한을 가지게 변경합니다.
sudo chown -R jeong /data && sudo chmod 755 /data
minio server /data
그러고 나서 minio server /data을 실행시키면 아래와 같이 실행됐다고 나옵니다.
kabby-MacBookPro:~ jeong$ minio server /data
Endpoint:  http://192.168.25.42:9000  http://192.168.0.35:9000  http://127.0.0.1:9000
AccessKey: minioadmin
SecretKey: minioadmin

Browser Access:
   http://192.168.25.42:9000  http://192.168.0.35:9000  http://127.0.0.1:9000

Command-line Access: https://docs.min.io/docs/minio-client-quickstart-guide
   $ mc config host add myminio http://192.168.25.42:9000 minioadmin minioadmin

Object API (Amazon S3 compatible):
   Go:         https://docs.min.io/docs/golang-client-quickstart-guide
   Java:       https://docs.min.io/docs/java-client-quickstart-guide
   Python:     https://docs.min.io/docs/python-client-quickstart-guide
   JavaScript: https://docs.min.io/docs/javascript-client-quickstart-guide
   .NET:       https://docs.min.io/docs/dotnet-client-quickstart-guide
Detected default credentials 'minioadmin:minioadmin', please change the credentials immediately using 'MINIO_ACCESS_KEY' and 'MINIO_SECRET_KEY'
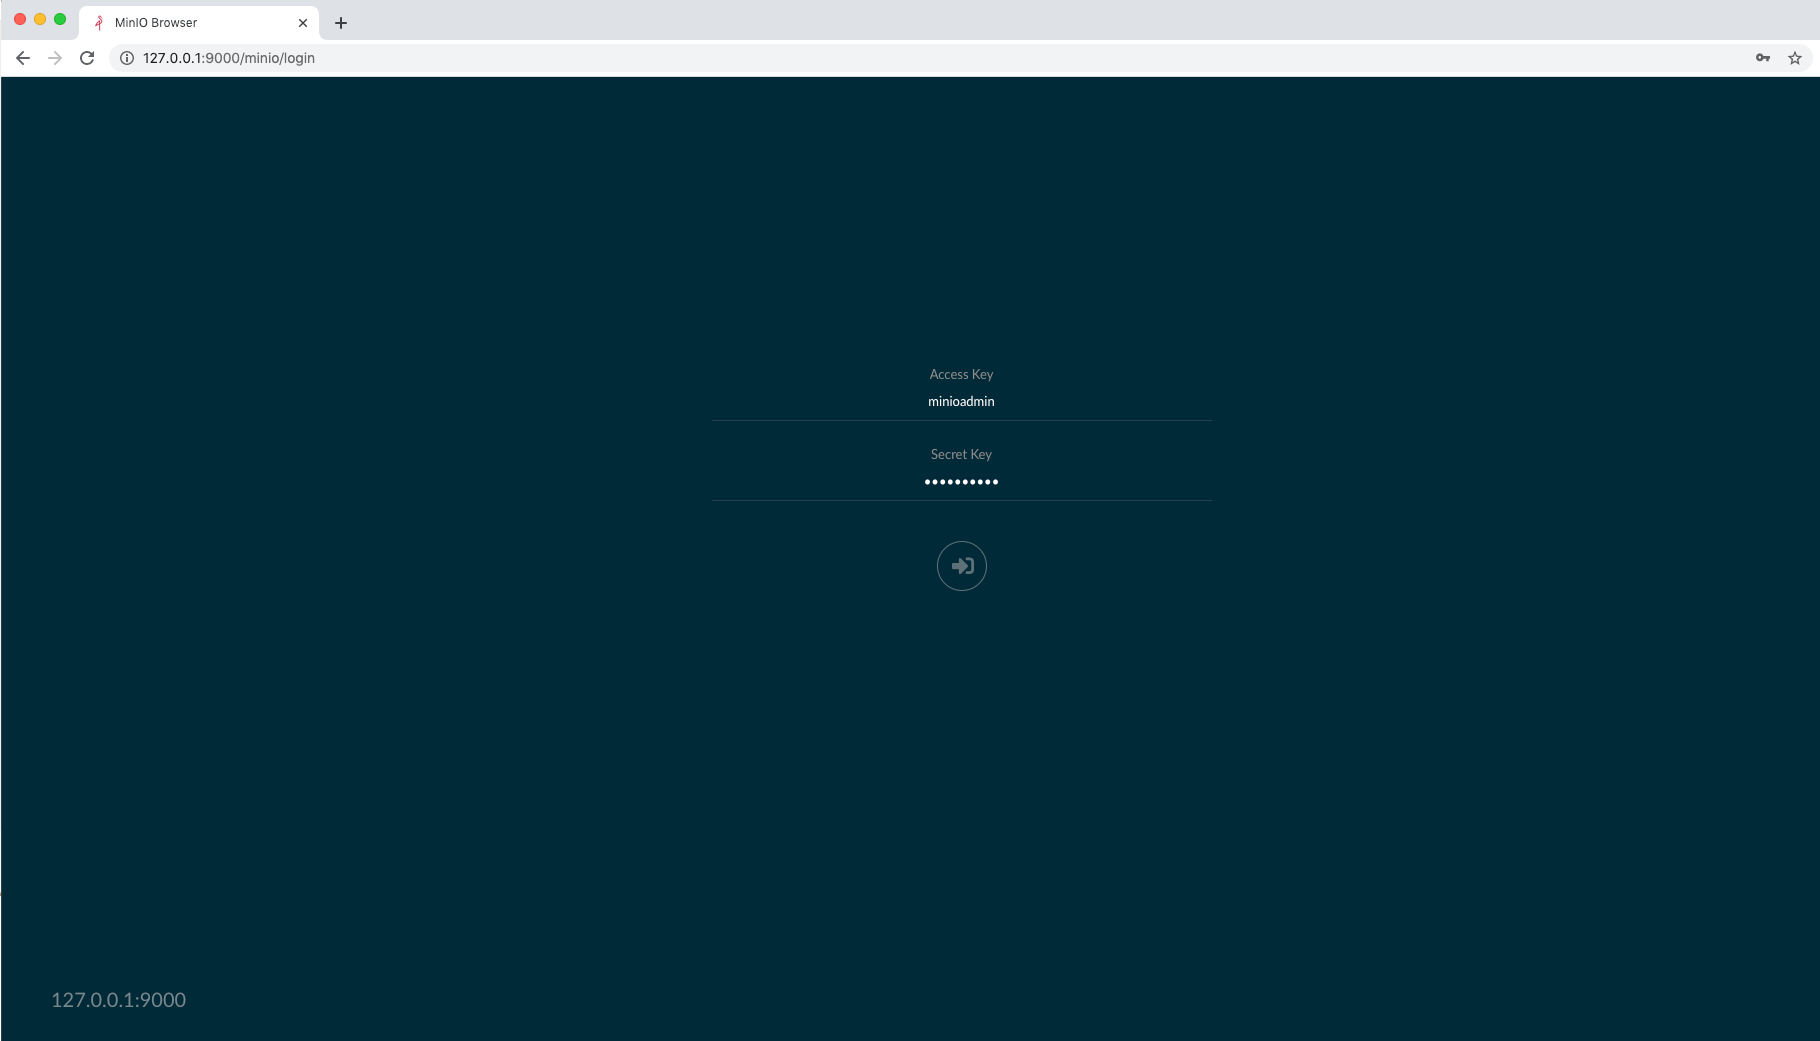
이후 http://127.0.0.1:9000을
브라우저 접근할 때 ID/PW 가 minioadmin/minioadmin이라는 것을 알 수 있습니다.
맨 아래 보면 즉시 AccessKey와 SecretKey을 바꾸라는 표시가 나타납니다.
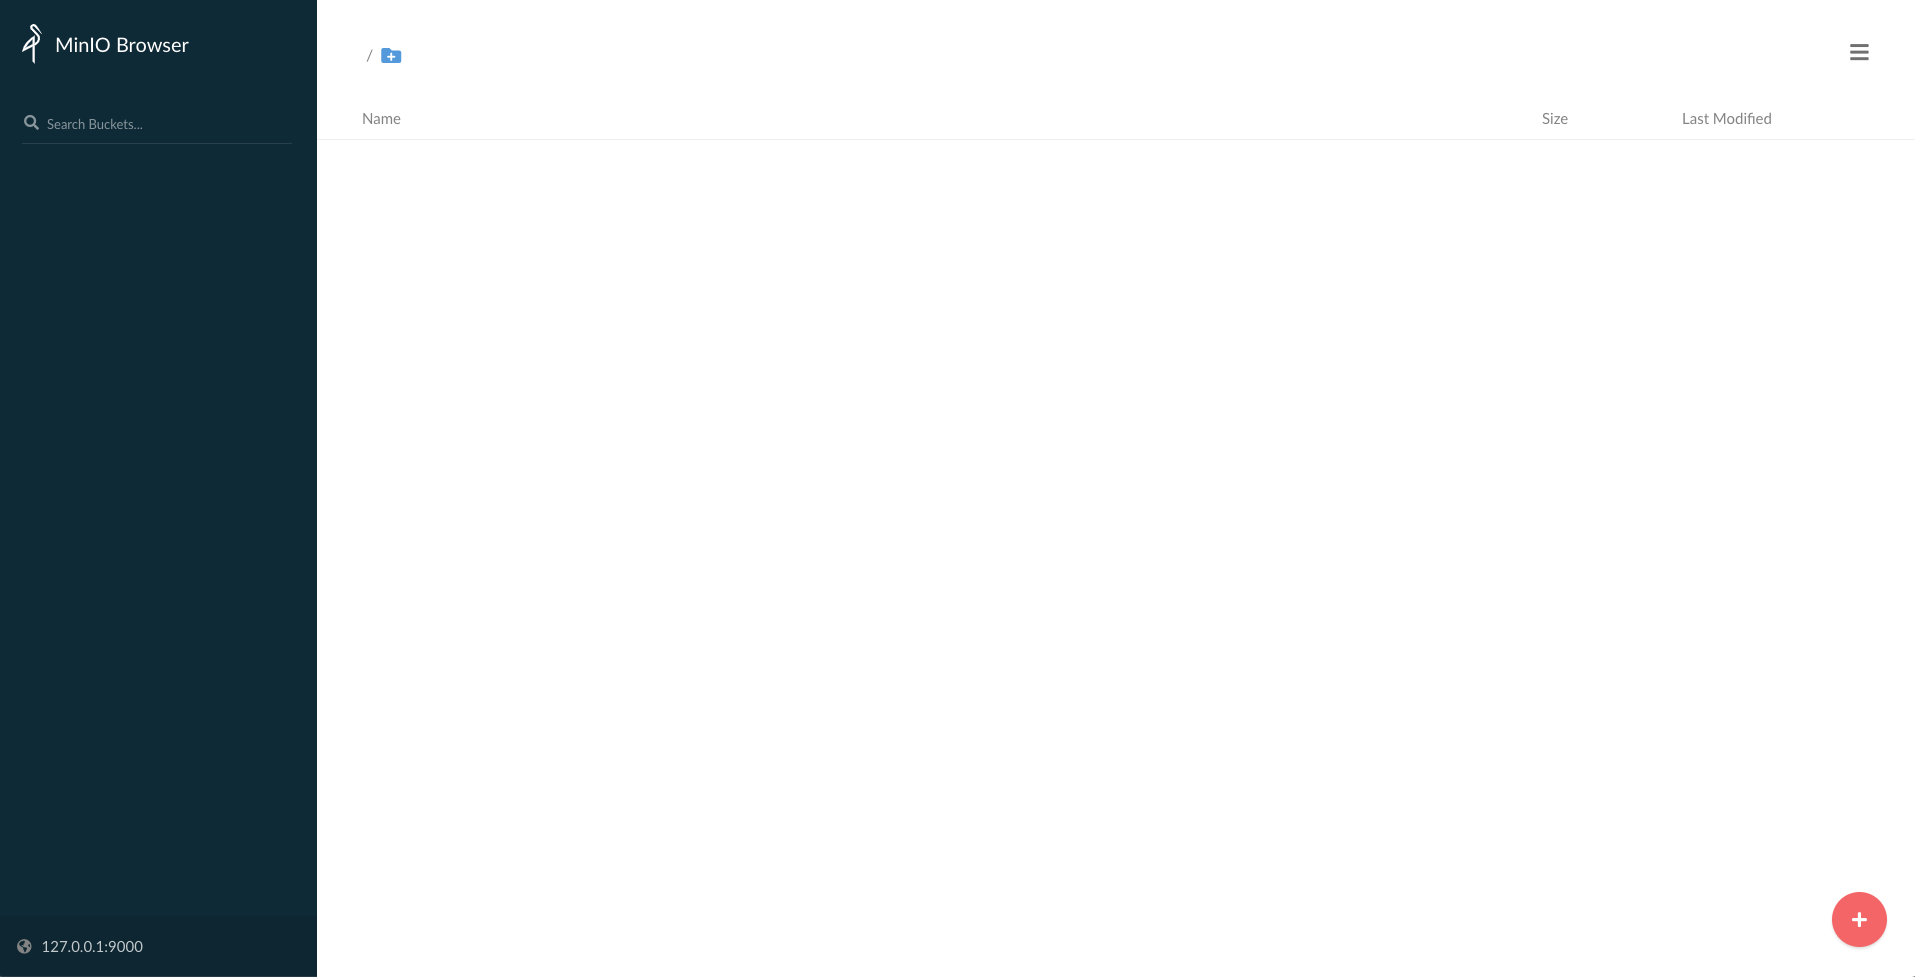
그럼 이제 제대로 설치가 됐는지 127.0.0.1:9000으로 접근해 보겠습니다.


이로써 우리는 맥 OS에 MinIO을 설치를 하였고, 브라우저로 MinIO로 접속까지 해봤습니다.
오늘의 포스팅은 여기서 마치겠습니다.
다음 포스팅에서는 Bucket과 Object을 하나씩 만들어 보는 포스팅으로 찾아뵙겠습니다.
만약 아래와 같이 ERROR가 나온다면,
kabby-MacBookPro:~ jeong$ sudo minio server /data
ERROR Unable to initialize server switching into safe-mode: Unable to initialize sub-systems: Credentials missing
MINIO_ACCESS_KEY 와 MINIO_SECRET_KEY 을 적어주고 명령어를 치면 해결 됩니다.
sudo MINIO_ACCESS_KEY=minioadmin MINIO_SECRET_KEY=minioadmin minio server /data'IT > Infra' 카테고리의 다른 글
| [Mac] Rabbit MQ 설치 (0) | 2020.10.11 |
|---|---|
| [Docker] MinIO 객체 스토리지 (0) | 2020.08.05 |
| [Centos7] redis 설치하기 (0) | 2020.02.10 |
| [Centos7] maven 설치하기 (0) | 2020.01.08 |
| 도커(Docker) : 맥(Mac)으로 도커 설치하기 (0) | 2019.12.16 |